
Banding in gradient prints is one of the most common issues in DTF printing, DTG workflows, and large-format inkjet production. If you’ve ever seen harsh lines or “steps” in what should be a smooth fade, you know how frustrating it can be.
The important thing to understand is this: gradient banding isn’t caused by just one problem. It’s usually the result of a combination of file setup, RIP software settings, and printer limitations. The good news? Once you know where to look, it’s very fixable.
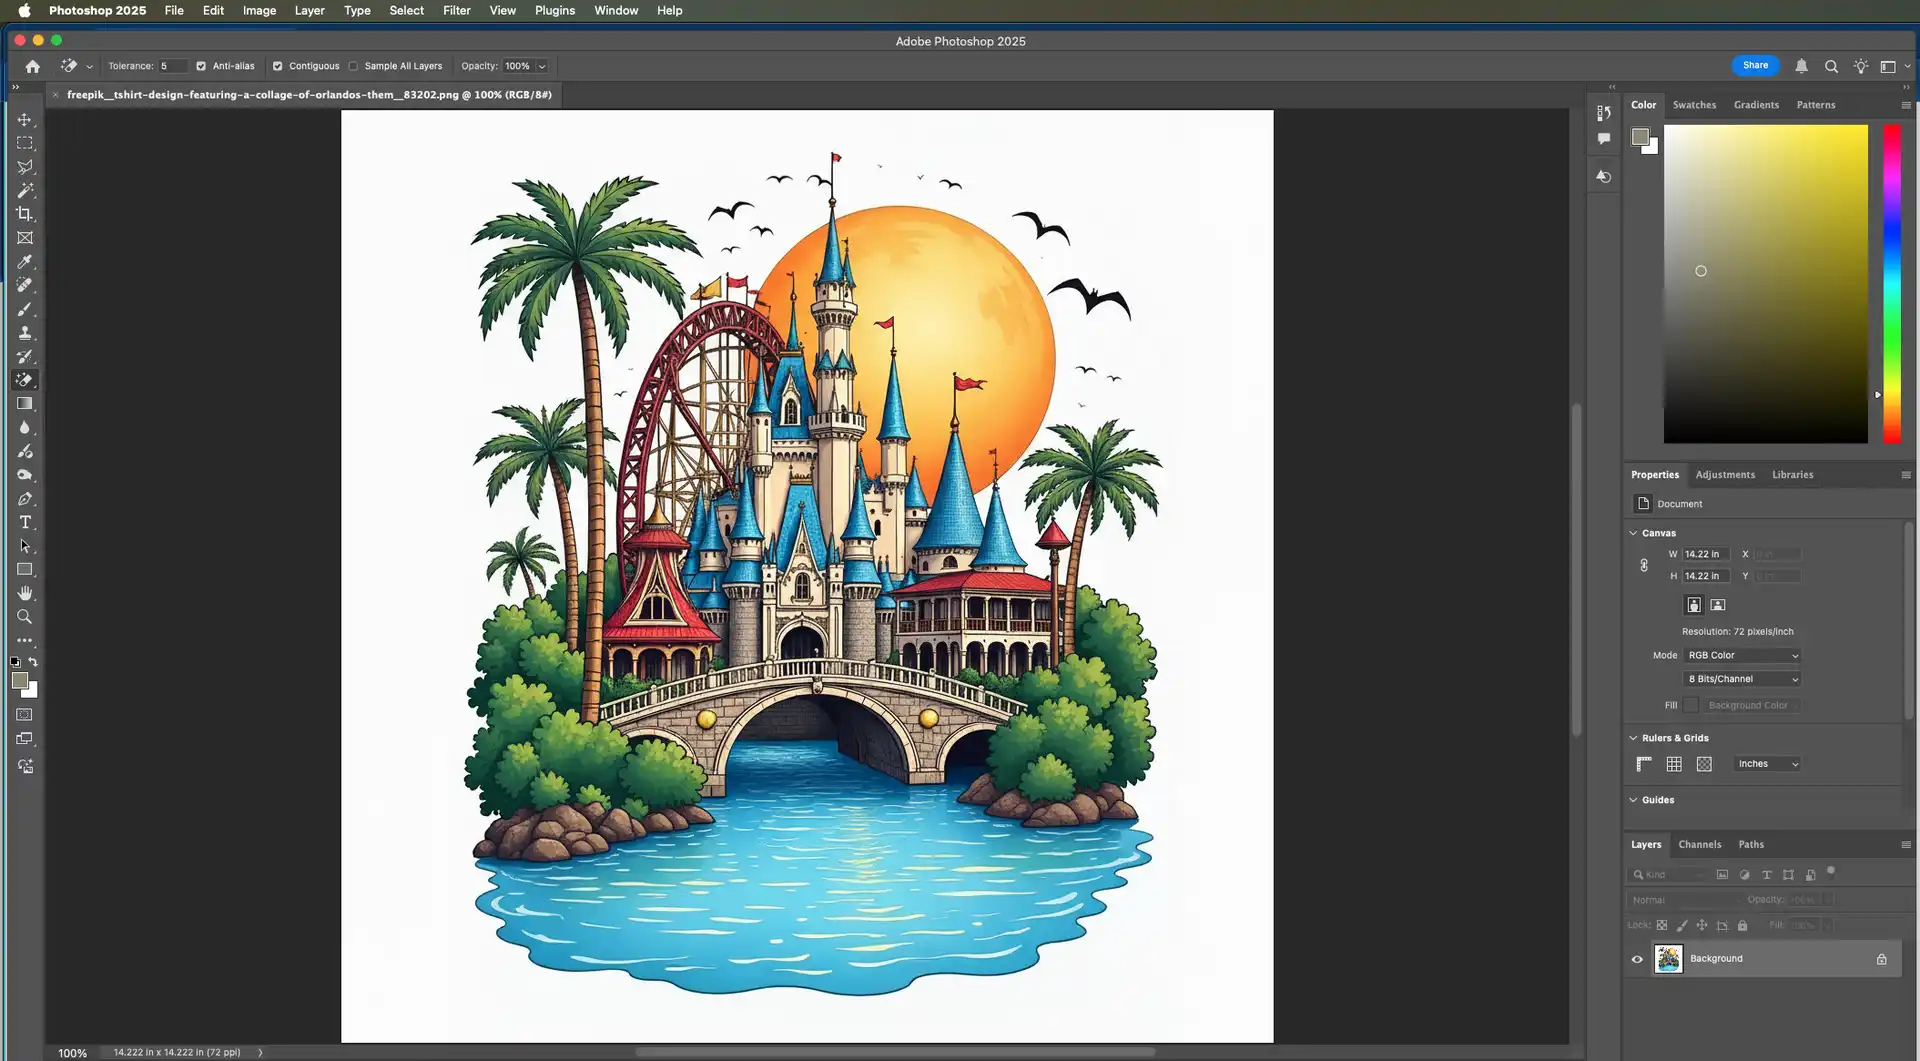
Here’s a practical, print-focused guide to creating smooth gradients that actually translate cleanly onto film and fabric.
Start with Proper File Setup (This Matters Most)
Everything begins with your file. Even the best printer can’t fix a poorly built gradient.
Work in High Bit Depth
Whenever possible, design in 16-bit color—especially if you’re using Adobe Photoshop.
- 8-bit gradients only allow 256 tonal steps
- 16-bit gradients provide thousands of transitions
More steps = smoother gradients and far less risk of visible banding.
Add Noise to Your Gradient (The Pro Trick)
This might sound counterintuitive, but perfectly smooth gradients actually cause banding when printed.
Why Noise Works
Adding a tiny amount of noise breaks up visible transitions:
- Apply 1–2% Gaussian noise
- It introduces subtle variation between tones
- The result looks smoother to the human eye
This technique is widely used in high-end print production and is one of the easiest ways to improve gradient quality instantly.
Design Larger, Then Scale Down
A simple but powerful trick is to build your gradients bigger than needed.
- Create at 2–3× your final print size
- Scale down before exporting
Why This Helps
Downsampling blends color transitions more effectively, reducing the appearance of stepping or banding.
Use Raster Gradients Instead of Vector
While vector programs like Adobe Illustrator can create gradients, they don’t always translate well in print workflows.
Best Practice
- Build gradients in Photoshop
- Import them as high-resolution raster images if needed
Vector gradients can break apart during RIP processing—especially in DTF printing—leading to visible banding.
Avoid Problematic Color Transitions
Some gradients are naturally more prone to banding than others.
High-Risk Transitions
- Dark to light fades (especially black to transparent)
- Highly saturated to desaturated colors
Better Approach
- Introduce a subtle midtone
- Slightly shift hue—not just brightness—across the gradient
This creates a more natural transition that prints more smoothly.
Use the Right Resolution for DTF Printing
Resolution directly affects how smooth your gradients appear.
- Minimum: 300 DPI at final size
- Ideal for DTF: 360–720 DPI
Low resolution reduces the number of tonal steps, increasing the likelihood of banding.
Optimize Your RIP Software Settings
Your RIP software plays a major role in how gradients are rendered. Tools like Wasatch SoftRIP or Kothari RIP can either preserve or destroy smooth transitions.
Key Settings to Check
- Enable high-quality or uni-directional print mode
- Increase pass count
- Use the correct ICC color profile
- Turn on gradient smoothing or dithering
Even a perfect file can show banding if RIP settings are too aggressive or low quality.
Don’t Overlook Printer Maintenance
Sometimes the issue isn’t your file at all—it’s your printer.
Common Hardware Causes
- Partially clogged nozzles
- Misaligned printheads
- Incorrect bi-directional calibration
Running regular nozzle checks and maintenance routines ensures your printer can actually reproduce smooth gradients.
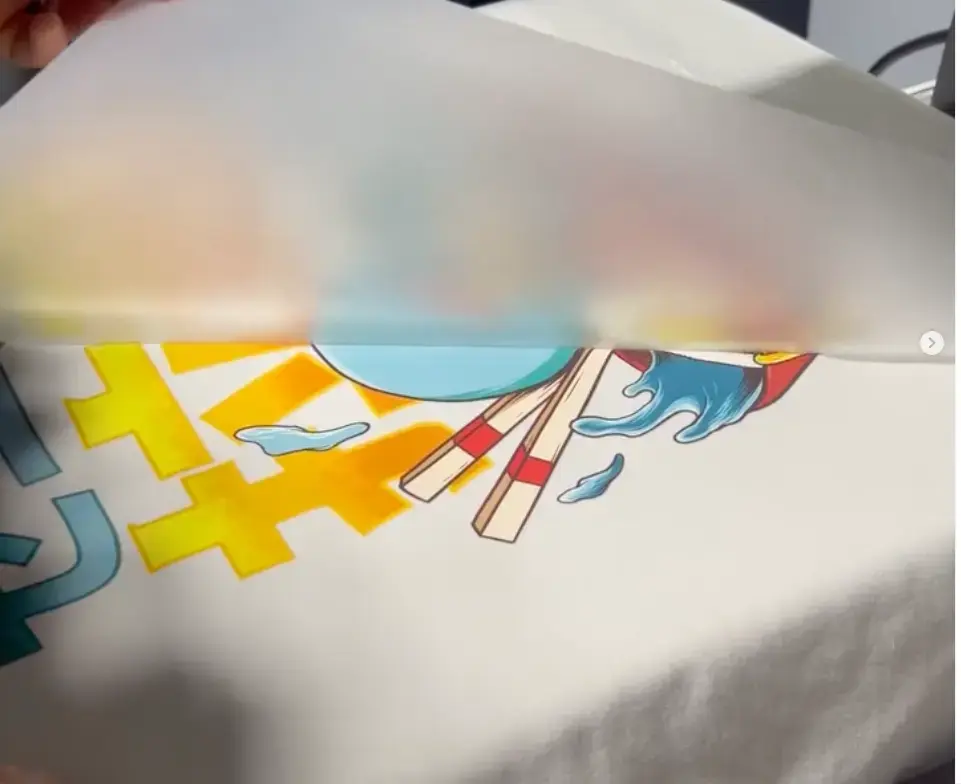 Test Before Full Production
Before committing to a full print run, test your gradients.
- Print gradient swatches
- Evaluate transitions closely
This helps you identify whether the problem comes from your file, RIP settings, or hardware—saving time and materials.
Recommended Workflow for Smooth Gradients
For consistently clean results, follow this process:
- Create gradients in Photoshop (16-bit mode)
- Add 1–2% noise
- Work at 300–600 DPI
- Export as TIFF or PNG (avoid compression artifacts)
- Use high-quality RIP settings
- Print with higher pass modes when needed
Final Takeaway
If you only make one change to improve your DTF gradients, make it this:
Add a small amount of noise.
It’s a simple adjustment, but it eliminates most banding issues in real-world printing and dramatically improves gradient quality.
If you’re still seeing banding after trying these steps, it’s worth narrowing down whether the issue is coming from your RIP configuration or printer hardware. That’s usually where the last 10% of problems hide.